


Tutorial: Archiving & extracting with WinRAR
Welcome to the WinRAR tutorial.
Download WinRAR
WinRAR is a great software program for compressing data and extracting compressed archives.
 The latest version of this program is version 7.23 which was released on June 30, 2026
What has been improved in this version?
Creating archives
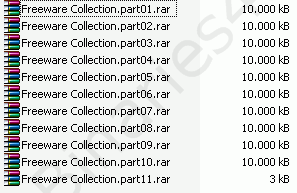
In this howto we want to make a 'Freeware Collection' ready to be posted to a Usenet newsgroup, so we are going to make an archive of it, which we will split in several pieces.
We right-click on the file (WinRAR has to be installed), and choose 'Add to archive...'
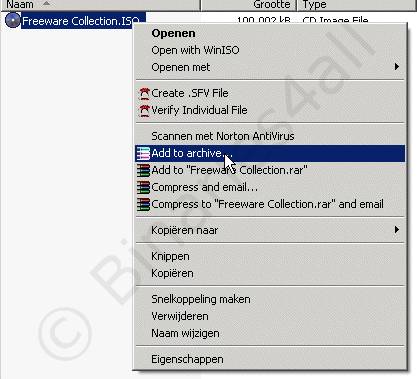
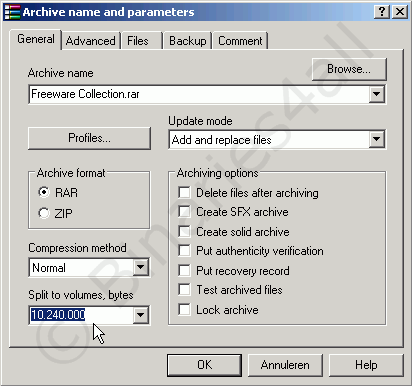
A context-menu appears with various input fields. At 'Archive name' we enter the name of the archive. At 'Archive Format' we choose RAR, of course.
To split the volume into multiple pieces, we choose the size of each part at 'Split to volumes, bytes'. In this example I choose for 10.240.000, which is equal to 10MB. It also is possible that you enter 10m in the field, which is a bit easier. A good size is 10-15 MB per piece. If you are about to post really large files, create larger pieces, otherwise you will end up with a lot of pieces. If you, for example, want to post something of 4GB, it is better to split the files into pieces of about 50MB, but it is not recommended to use larger pieces than that.
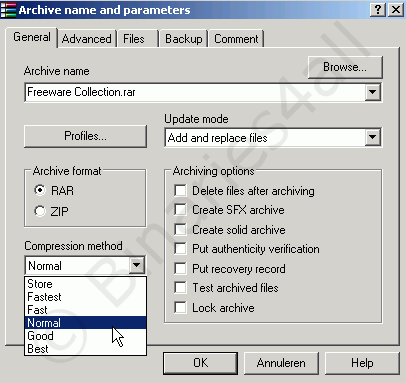
At the 'Compression method' field we choose the strength of the compression which will be used. The default setting is 'normal'. If you have a very fast PC you can choose for a stronger compression, which will result in a more reduced file size.
If you choose for 'Store', the files won't be compressed. So this will not save you space, but the process will also be finished earlier (but of course the posting will take longer).
After clicking 'OK' WinRAR will start compressing…
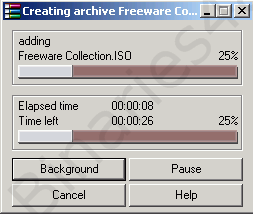
And after a while the process is done! The file is compressed and is split up into multiple pieces.
Before you can post the files, it's recommended to create some PAR files.
To the next chapter: ![]() Extracting
Extracting