


Configuring Powerpost
Page 2/4 of this article
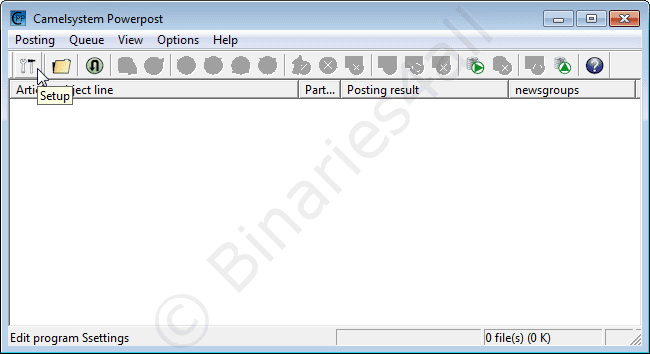
Before we can start posting, we have to configure the program (only once). Click on the Setup button (first icon on the left).
Here we find the properties window, starting on the first tab: 'Server settings':
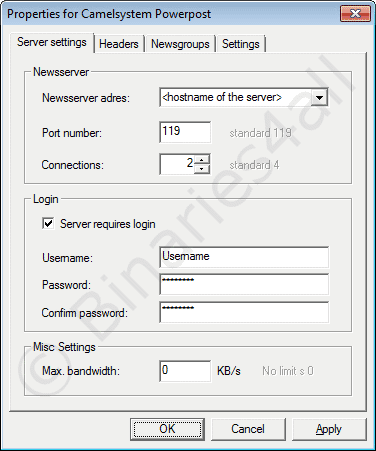
- Newsserver adres: You will need to provide the server name of the server you want to use for your post.
- Port number: Always 119. Note: Powerpost is unable to post via SSL. For advanced users: you could install Stunnel and configure a tunnel to port 563 of the server address of the payserver that you use. In that case connect Powerpost to server address '127.0.0.1' on port 119, and Stunnel will connect to your payserver over SSL.
- Connections: The number of concurrent connections you want to use for posting. The maximum number allowed depends on your newsserver. Keep in mind that if you're allowed to use three connections to your newsserver, and you're using two connections for posting, only one connection will be available for downloading.
I.E: max connections = connections for uploading + connections for downloading!
I use two connections to have fewer fluctuations in total posting speed due to server acknowledgements. - Server Requires Login: If username and password are required to use your newsserver, you need to check this box. For payservers this will be the case. For your ISP's newsserver your best chance will be to leave it unchecked.
- Username, Password & Confirm: At Username you obviously fill in your username. Your password needs to be filled in at 'Password' and 'Confirm'.
- Max Bandwidth (KB/s): Here you can specify the (default) maximum upload speed.
You can change the maximum speed at any time during your post.
0 = no limit (using all available bandwidth to post).
Next tab: 'Headers':
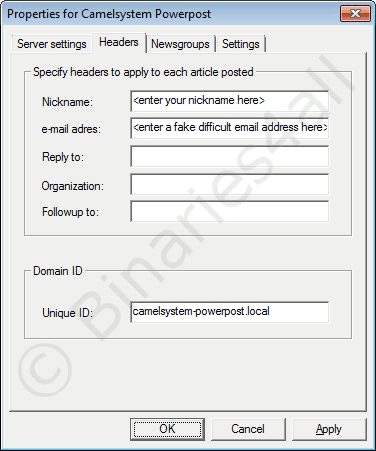
Here you need to fill in your posting Nickname and a E-mail address. Since this address will be visible to everyone on Usenet, it's wise to use a fake mail-address to prevent your mailbox to be filled with spam (spam companies harvest mail addresses from Usenet newsgroups). However, you will need to provide an address with valid structure for mail addresses: i.e. blabla@fake-mail-address.com
- Unique ID: This field contains the value that will be appended after the Message ID Powerpost generates. To make sure this ID will be unique it's wise (but not necessary) to change the default. Attention: only change the text before .local . You could use a derivation from your nickname.
The tab Newsgroups gives you the opportunity to add some Usenet newsgroups you might want to post to (now, or in the future).
To do so, click 'Add new newsgroup'.
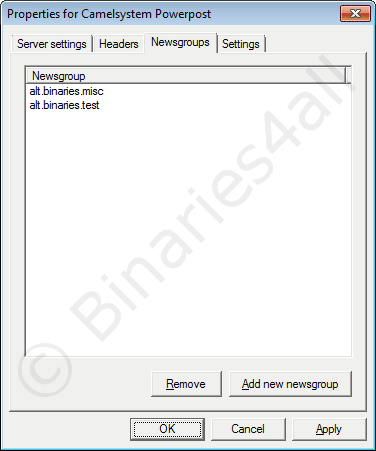
A new window pops up. Fill in the name of the desired Usenet newsgroup and click the OK-button. I added the group alt.binaries.misc, because that's where I want to post my freeware collection.
Finally we get to the last tab: 'Settings'.
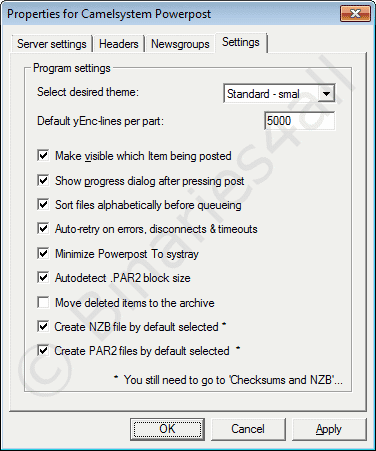
- Select desired theme: you can select a skin for the program. Just leave it, or pick one you like.
- Default yEnc-lines per part: The part-size that will be used to post your articles. 5000 is a nice value. Don't pick a size larger than 5000 though. This will result in loss of your post. Many servers just won't accept parts larger than 5000. If 5000 gives you problems on your post server, another frequently used value is 3000.
- Make visible which item being posted: If checked, the main screen will be updated during the post. And it is nice to see the progress your post is making.
- Show progress dialog after pressing post: If checked a progress-indicator will pop-up when you start posting.
- Sort files alphabetically before queuing: If checked all files will be alphabetically sorted when you add them to your queue.
- Auto-retry on errors, disconnects & timeouts: If checked the program will retry to post your articles after an error occurs.
- Minimize Powerpost to systray: If checked the program will be placed in the system tray (next to the clock) when you minimize the program. This is very useful since the program won't take up space on the taskbar.
- Autodetect .PAR2 block size: This version of Powerpost can also create PAR2 files. This option affects that. However, we prefer to create these with QuickPar for better compatibility.
- Move deleted items to the archive: Powerpost has an archive (like a history of files you post). Check this if you want files you deleted from the queue also to be listed there.
- Create NZB file by default selected: Check this box if you want to automatically generate an NZB file.
- Create PAR2 files by default selected: Check this box if you want to automatically generate PAR2 repair files.
To the next chapter: ![]() Prepare a posting
Prepare a posting